Bars & Brownies
Gluten Free Brownies
September 26, 2023
It’s no secret that I LOVE a good brownie. I am chocolate’s #1 fan after all. So when I set […]

It’s no secret that I LOVE a good brownie. I am chocolate’s #1 fan after all. So when I set out to create a gluten free brownie recipe, I knew it had to be just as decadent and just as delicious as a regular homemade brownie. I set the bar high with these Best Ever Brown Butter Brownies and my favorite M&M Brownies. They have all of the qualities I look for in a good brownie – rich, fudgy centers, crispy, chewy edges and those signature shiny, crinkled tops. And no one will know they’re gluten free!

What makes these brownies so good?
These brownies are so easy to make from scratch and even gluten lovers will find them totally irresistible. I have three celiacs in the family and this is my go-to recipe that checks ALL the boxes. Here’s a few reasons why everyone loves these brownies:
- Quick and easy to make with just 7 simple ingredients!
- Loaded with two types of chocolate for a rich, fudgy super chocolatey flavor.
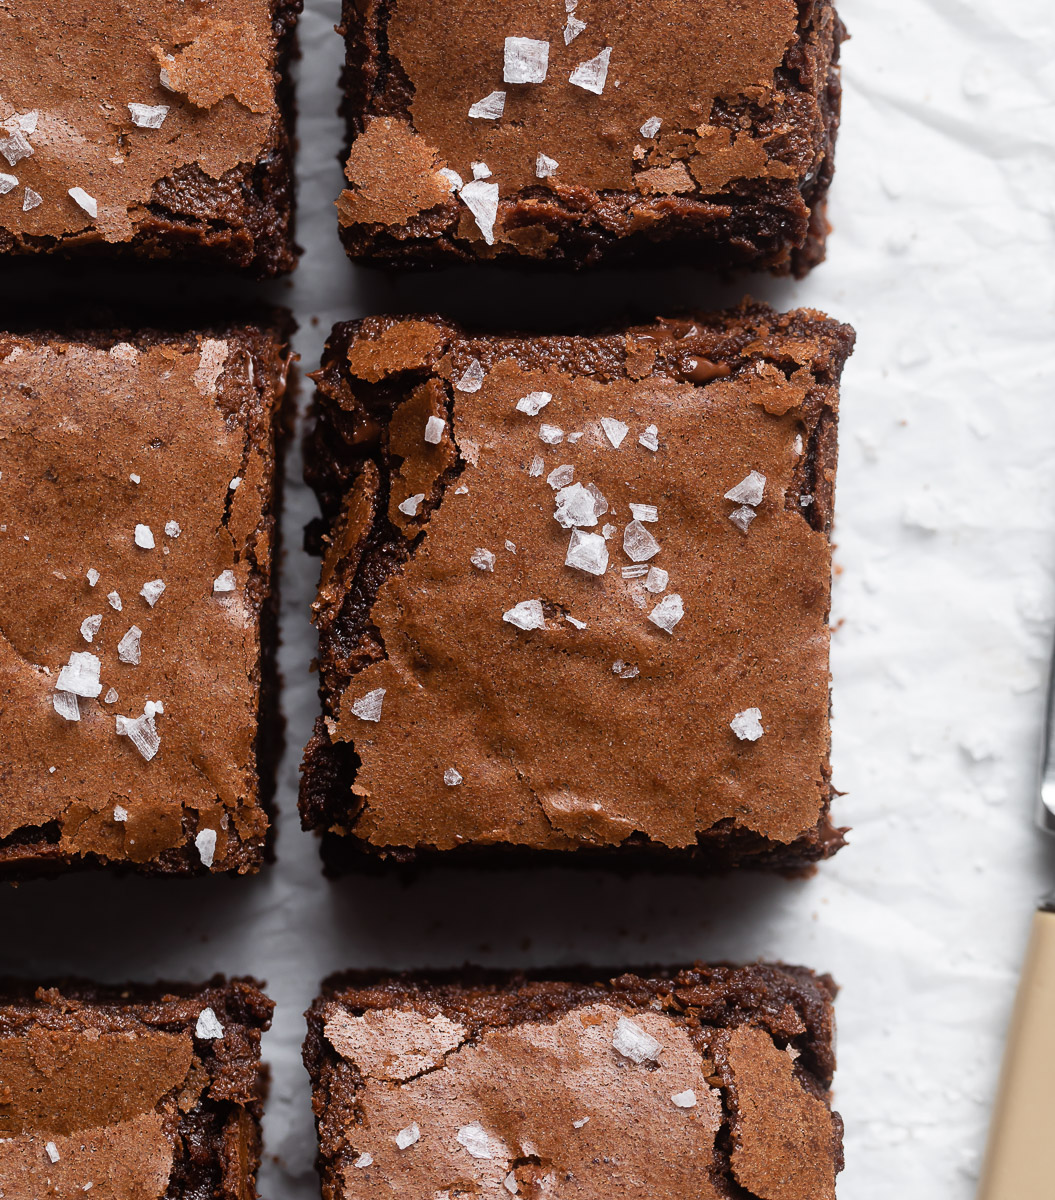
- A brownie lover’s dream with chewy edges, thick fudgy centers and shiny, crinkled tops.
- No mixer needed – whip up a batch with just a bowl and a whisk.
- The perfect dessert to feed a crowd….no one will know they’re gluten free!

Ingredients
You’ll need just a handful of simple ingredients to make these brownies. And the best part is, you probably already have everything you need in your pantry!
- Butter – use a high quality unsalted butter for the best flavor. If using salted butter, omit the additional kosher salt from the recipe.
- Sugar – granulated sugar adds texture and sweetness.
- Eggs – for best results, use room temperature eggs.
- Flour – be sure to use a gluten free flour that can be swapped 1:1 for regular all-purpose flour. I tested this recipe using King Arthur Baking Measure for Measure Gluten Free Flour. For the most accurate results, use a digital kitchen scale to measure the flour.
- Chocolate – feel free to use semi-sweet, bittersweet or milk chocolate chips. You can also use a chopped chocolate bar.
- Cocoa powder – for a deep, dark chocolate flavor I like to use Dutch process cocoa powder. If you don’t have any on hand, regular unsweetened cocoa powder will work.
- Salt – just a sprinkle in the batter and on top of the brownies adds the perfect finishing touch!

How to make homemade brownies
This easy peasy brownie recipe is better than any box mix and they’re a cinch to make whenever the craving strikes. You can use a stand mixer fitted with the whisk attachment, a handheld mixer or just a bowl and whisk. Follow this simple step-by-step guide and check the recipe card below for ingredients and detailed instructions.
Step 1: Melt the butter in a pot (or microwave) over medium-low heat. Transfer the melted butter to a medium bowl and immediately add the chocolate chips, Dutch process cocoa powder and vanilla. Stir to combine well. Set aside to cool for 8 to 10 minutes.
Step 2: Add the granulated sugar and 3 eggs to a large bowl.
Step 3: Whisk together the eggs and sugar briskly for 3 minutes. The mixture will be thick and pale. This is what helps give the brownies their shiny, crinkled tops.
Step 4: Add the melted chocolate and butter mixture to the egg and sugar mixture and whisk until just combined. Do not over mix.
Step 5: Add the flour and salt. For best results, measure the flour with a kitchen scale.
Step 6: Use a large spatula or wooden spoon to gently fold in the flour and salt, being careful not to over mix the batter. If adding chocolate chips, fold them in along with the flour and salt.

Step 7: Transfer the batter to an 8 x 8 inch pan lined with parchment paper. Use a spoon or offset spatula to spread the batter into the corners of the pan and level the top.
Step 8: Bake in a 325°F oven for 40 to 45 minutes or until the edges of the brownies are set and the center does not jiggle when the pan is moved. To check for doneness, insert a toothpick into the center of the pan. If it comes out clean or with a few crumbs remaining, the brownies are done. If the toothpick is wet, continue to bake the brownies for 4 to 5 minutes and test again with the toothpick.
Step 9: Remove the brownies from the oven and cool completely in the pan on a wire rack. Use the parchment paper to lift the brownies from the pan. Use a sharp knife to cut into squares. For the sharpest edges, clean the knife with warm water and dry with a towel in between each cut. Sprinkle the brownies with flakey seas salt before serving if desired.

Tips for the best brownies
Lucky for you, I’ve tested these gluten free brownies over and over again so you don’t have to. Follow these tips and tricks for brownies so good you’ll never go back to store-bought.
Measure the dry ingredients. Too much flour is the number one culprit for dry, crumbly brownies. Be sure to use a kitchen scale to measure the flour for perfectly baked brownies every time.
Do not use a glass pan. Metal pans conduct heat better than glass pans which makes for more evenly baked brownies.
Do not over bake. No one, and I mean no one, likes a dry brownie. No too ovens are alike and baking times will vary so don’t stray too far away from the oven. The brownies are done when the edges are set and the center no longer wobbles. Use the toothpick test to be sure the center of the brownies are set.
Cool completely before slicing. To get those picture perfect slices you’ll need to cool the brownies completely and cut them with a sharp knife. To speed the cooling process you can pop the pan of brownies in the fridge for 20 minutes after they have cooled at room temperature for 1 hour. Or, just eat them warm straight from the pan – you do you!

How to store gluten free brownies
No one can resist these brownies so I’m willing to bet you won’t have a single square left over. Store any leftovers tightly covered at room temperature for up to 3 days. They’ll last a bit longer in the refrigerator and up to 2 months in the freezer. Pro-tip: frozen brownies make an EXCELLENT midnight snack! To freeze the brownies, wrap tightly in two layers of plastic wrap and freeze flat in a large freezer bag.

FAQ’s
Not all gluten free flours are created equal. You can expect different results depending on the flour you choose. I’m a fan of King Arthur Baking Measure for Measure Gluten Free Flour. I’ve also had good results with Bob’s Red Mill Cup for Cup Gluten Free Flour and the Trader Joe’s Gluten Free Flour. Any gluten free flour blend should work, just be sure it contains xanthan gum.
The number one reason that brownies turn out dry is that too much flour is added to the batter. For best results, measure the flour using a digital kitchen scale. Also, check your oven temperature and be sure that you don’t over bake the brownies as this will make them dry and cakey.
Absolutely. Use 1 cup of regular all-purpose flour in place of the gluten free flour.
Yes. Feel free to add up to 3/4 cup of your favorite nuts or other mix-ins like M&M’s, white chocolate chips or mini peanut butter cups.
Yes, although the flavor and texture will be slighty different. For an egg replacement, use a flax egg. And swap the chocolate chips for a dairy free variety.
Absolutely! Double the recipe and then bake the brownies in a 9 x 13 inch pan lined with parchment paper. Keep your eye on the oven as they brownies may bake a bit faster.
Gluten free or not – these are some of the best brownies that have ever come out of my oven!!
Happy baking!
Looking for more easy and delicious brownie recipes? You’ll love these:

Gluten Free Brownies Recipe
- Prep Time: 15 minutes
- Cook Time: 40 minutes
- Total Time: 55 minutes
- Yield: 16 squares 1x
- Category: Brownies & Bars
- Method: Baking
- Cuisine: American
Description
Easy one-bowl gluten free brownies made with just 7 ingredients. Made with perfectly chewy edges, fudgy centers and shiny, crinkled tops, no one will know they’re gluten free!
Ingredients
- 1 cup (226 g) unsalted butter
- 5 ounces semisweet chocolate chips (or 60% bittersweet chips)
- 4 tablespoons Dutch process cocoa powder, sifted
- 2 teaspoons vanilla
- 3 large eggs, room temperature
- 1 1/2 cups (300 g) granulated sugar
- 1 cup (125 g) gluten free flour, spooned and leveled (I use King Arthur Measure for Measure Gluten Free Flour)
- 1/2 teaspoon kosher salt
- 1/2 cup semi-sweet chocolate chips, optional
- flakey sea salt for sprinkling
Instructions
- Preheat oven to 325°F. Lightly spray an 8 x 8 or 9 x 9 baking pan with non-stick cooking spray and line with parchment paper so that it covers all four sides of the pan. Leave about an inch of parchment to hang over the sides of the pan for easy removal of the brownies once baked. Set aside.
- In a medium saucepan, melt the butter over medium high heat.
- Immediately stir in the chocolate chips, cocoa powder and vanilla. Continue to stir until chocolate is completely melted and the mixture is shiny. Set aside to cool for 8 to 10 minutes.
- In a stand mixer fitted with the whisk attachment, an handheld mixer or using a whisk and a bowl, beat together the eggs and sugar on medium speed until light and creamy, about 3 minutes.
- Once the chocolate and butter is slightly cooled, carefully stream it into the sugar and egg mixture. Mix to combine well.
- Once all of the chocolate has been added, continue to beat for about 20 seconds.
- Remove the bowl from the mixer and use a large spatula or wooden spoon to fold in the flour and salt.
- Add the additional chocolate chips, if desired. Do not over mix.
- Pour the batter into the prepared pan and smooth the top with an offset spatula.
- Bake on the center rack of the oven for 40 to 45 minutes. The brownies may puff up in the center while baking but will deflate slightly as they cool. To check for doneness, insert a toothpick into the center of the brownies. The toothpick should come out almost clean, with just a few crumbs remaining. The brownies may take up to 50 minutes to cook depending on your oven.
- Remove the brownies from the oven to cool on a wire rack. After about 20 minutes, use the parchment paper to lift the brownies from the pan and cool completely on the wire rack before slicing.
Notes
Be sure to use a gluten free flour blend that contains xanthan gum.
Store brownies tightly covered at room temperature for up to 3 days.
To freeze, wrap tightly in two layers of plastic wrap and store flat in a plastic freezer bag for up to 2 months. Defrost at room temperature before serving.
Craving More?


Easy Vanilla Glaze


4 Comments
Anonymous
June 24, 2024 at 10:31 pmNo where in the recipe does it say where to add the flour
Heather Mubarak
June 25, 2024 at 4:49 amHmmm….in the step-by-step guide within the blog post it says to add the flour in step 5. And in the recipe card, it directs you to fold the flour into the mixture in step 7. Let me know if you need more help navigating the recipe.
Amy Nance-Thompson
October 2, 2023 at 6:10 pmThese brownies are soooo moist! Delicious doesn’t start to tell how yummy! My sisters are visiting and between them, myself, my husband and my son the pan is empty in 1 day. Try these…I bet you’ll love them too!
Heather Mubarak
October 2, 2023 at 9:25 pmI’m so thrilled that you love these brownies! My three girls are gluten-free too and they can’t get enough of these brownies!!