Organizing
How To Organize Your Baking Pantry (Like A Pro!)
September 15, 2025
As a busy baker who spends a LOT of time in the kitchen, I’ve learned that playing hide-and-seek with my […]
As a busy baker who spends a LOT of time in the kitchen, I’ve learned that playing hide-and-seek with my baking ingredients almost always ends in complete baking chaos. On any given day my pantry is housing five kinds of flour, three (half-empty) bags of chocolate chips and at least a two year supply of mismatched rainbow sprinkles. With a few simple steps you can create an organized pantry that makes baking faster, easier and very enjoyable.
In today’s post I’m sharing all of my best tips and tricks to create a baking pantry that is as pretty as it is purposeful. You can customize this system in your own kitchen for a streamlined setup that is perfectly practical (and Pinterest-worthy!). Because who doesn’t love a pantry that works hard AND looks good doing it? Let’s do this!

How To Organize Your Baking Pantry
Follow this step-by-step guide to organize your baking pantry like a pro!
Step 1: Clear A Space & Take Inventory
- Begin by designating a space where you can conveniently store ingredients near where you’ll actually be baking. If you only have upper and lower cabinets available (rather than drawers), consider installing slide-outs for easier access.
- Empty the area completely and discard any expired or stale ingredients.
- Wipe down shelves/drawers and take any measurements if needed.
- Make a list of ingredients you already have and note ingredients that are missing. Use this ultimate Baking Pantry Checklist to stock your pantry with all the essentials you need for everyday baking.
Step 2: Gather Ingredients & Categorize
- Gather ingredients by category. This helps identify which categories need more or less space and you can then create dedicated zones within your pantry. Grouping ingredients by category will save you time when you start baking.
- Group similar items:
- Flours & Grains (AP flour, cake flour, bread flour, oats, etc)
- Sugars & Sweeteners (granulated sugar, brown sugar, powdered sugar, course sugar, honey, molasses, etc.)
- Leaveners (baking soda, baking powder, yeast, cream of tartar, yeast, etc)
- Spices & Flavorings (extracts, cocoa powder, cinnamon, nutmeg, espresso powder, salt, etc)
- Extra Add-ins (chocolate chips, nuts, marshmallows, graham crackers, sprinkles, etc)
Step 3: Choose The Right Storage Containers
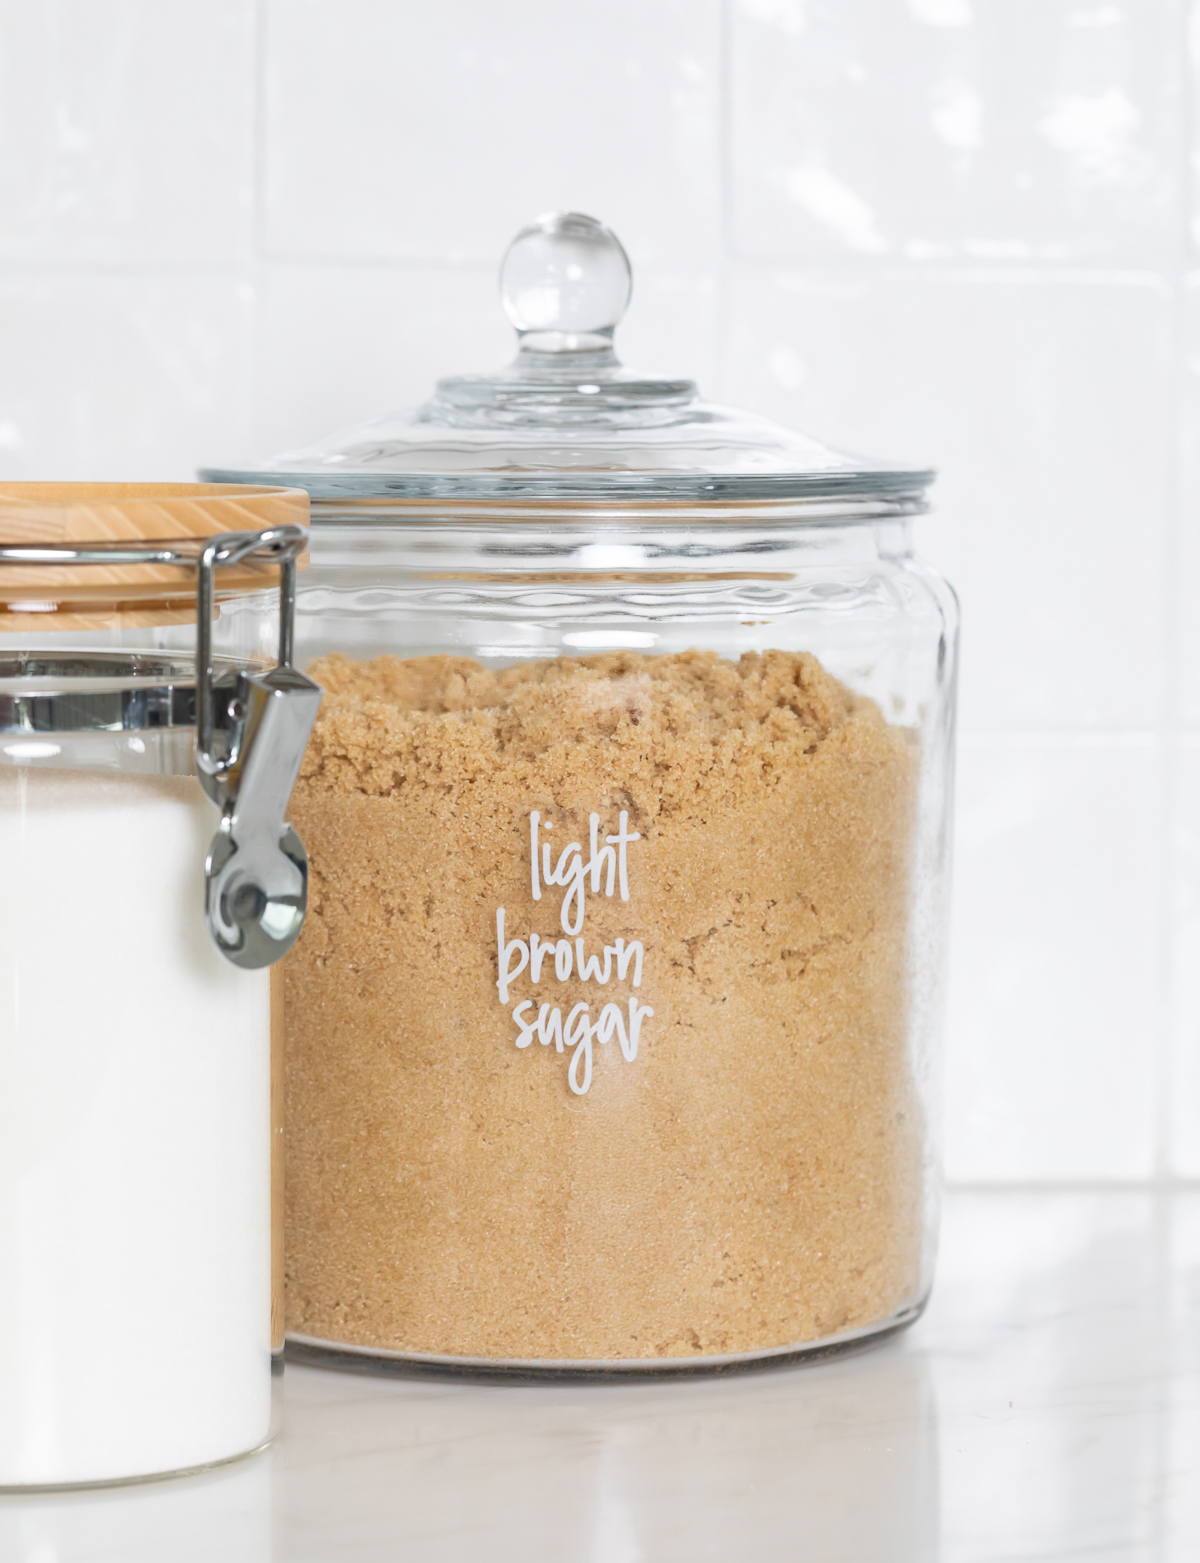
- Airtight glass jars or OXO canisters will keep your dry ingredients fresh and easily visible.
- Store most-used items (flour, sugar, etc) in larger containers.
- Use stackable tubs or bins to keep the area clutter free while maximizing space.
- Use nesting baskets or plastic tubs to organize smaller items like yeast packets, cocoa and sprinkle containers.
- Choose containers that can easily be wiped down to keep the area clean and tidy.
- Use turntables to store smaller items like extracts and decorative sprinkles.

Step 4: Label Containers
- For a polished, professional look, use uniform labels for each ingredient. Label ideas include:
- custom clear decals (love these!)
- digital label maker stickers (this label maker is the best!)
- sharpie & masking tape – inexpensive and easy! This is my fave fine tip Sharpie pen.
- paint pens – use these pens to make labels with your own handwriting.
- chalkboard labels – easy to resuse! Check these out.
- magnetic labels – attach to the lid instead of the jar.
- Add a best-by or opened-on date if desired.
- Keep extra label supplies on hand for quick and easy swaps.


Tips for maintaining an organized baking pantry
Once you’ve set up your baking station, use these pro-level tips to keep it clean and organized.
Choose containers wisely. Not all containers are created equal. Wide mouth containers make it easier to scoop and refill. Be sure to choose containers with flat tops/lids that will be easier to stack. Containers with durable lids and airtight seals will keep ingredients fresh.
Have a tidy-up routine. Clean containers as you go and put ingredients back in place right after baking. Every few months, check expiration dates and restock and re-label as needed.
Decant ingredients immediately. When ingredients are low on stock, refill containers as soon as you bring the new ingredients home.
Rotate ingredients. Bring older items to the front so that they get used first. Keep seasonal sprinkles or specialty items higher on the shelf or tucked away in the back.
Do an inventory check. Make a checklist of which ingredients are low before going to the grocery store. Keep this Free Printable Baking Pantry Checklist near your pantry.

A little organization goes a long way. An organized baking station means less time searching for ingredients and more time doing what you love: baking!

Now that your baking pantry is organized, let’s bake! Here are a few of our most popular recipes:
- The Best Brown Butter Brownies
- Powdered Sugar Donut Cake
- Chewy Pumpkin Snickerdoodles
- Apple Spice Cake
- Chocolate Cream Pie Bars
- Soft and Chewy Sugar Cookies
Happy baking!


No Comments